Centos安装lnmp环境
因为服务器月底要到期,刚好阿里云双十一有活动,续费8折、新购5折,加上前段时间的优惠券,新购的话能比续费便宜近2000,所以新买了一台。
月底到期后就要把网站迁移过来了,首先得先在新服务器上安装lnmp环境。(好兴奋😝)
一、首先是nginx的安装
首先更新一下nginx的rpm源
# rpm -Uvh http://nginx.org/packages/centos/7/noarch/RPMS/nginx-release-centos-7-0.el7.ngx.noarch.rpm 然后安装nginx
# yum -y install nginx 安装完成后查看nginx版本 nginx -v
nginx version: nginx/1.12.2 最新版1.12.2没问题
然后设置nginx开机启动
# systemctl enable nginx 输出结果
Created symlink from /etc/systemd/system/multi-user.target.wants/nginx.service to /usr/lib/systemd/system/nginx.service. 然后启动nginx,并查看nginx的状态
# systemctl start nginx
# systemctl status nginx
输出如下
● nginx.service - nginx - high performance web server
   Loaded: loaded (/usr/lib/systemd/system/nginx.service; enabled; vendor preset: disabled)
   Active: active (running) since Fri 2017-11-10 13:08:59 CST; 11s ago
     Docs: http://nginx.org/en/docs/
  Process: 1477 ExecStart=/usr/sbin/nginx -c /etc/nginx/nginx.conf (code=exited, status=0/SUCCESS)
  Process: 1475 ExecStartPre=/usr/sbin/nginx -t -c /etc/nginx/nginx.conf (code=exited, status=0/SUCCESS)
 Main PID: 1479 (nginx)
   CGroup: /system.slice/nginx.service
           ├─1479 nginx: master process /usr/sbin/nginx -c /etc/nginx/nginx.conf
           └─1480 nginx: worker process

Nov 10 13:08:59 iz2zebopxrlqc8he1kgzrjz systemd[1]: Starting nginx - high performance web server...
Nov 10 13:08:59 iz2zebopxrlqc8he1kgzrjz nginx[1475]: nginx: the configuration file /etc/nginx/nginx.conf syntax is ok
Nov 10 13:08:59 iz2zebopxrlqc8he1kgzrjz nginx[1475]: nginx: configuration file /etc/nginx/nginx.conf test is successful
Nov 10 13:08:59 iz2zebopxrlqc8he1kgzrjz systemd[1]: Started nginx - high performance web server.
看起来没问题。正常跑起来了。
二、接下来是MySQL的安装
还是先更新一下MySQL的rpm源
https://dev.mysql.com/downloads/repo/yum/
# rpm -Uvh https://dev.mysql.com/get/mysql57-community-release-el7-11.noarch.rpm 然后安装mysql
# yum -y install mysql-community-server mysql-community-devel # grep socket /etc/my.cnf
socket=/var/lib/mysql/mysql.sock 然后查看mysql状态
# systemctl status mysqld
● mysqld.service - MySQL Server
   Loaded: loaded (/usr/lib/systemd/system/mysqld.service; enabled; vendor preset: disabled)
   Active: inactive (dead)
     Docs: man:mysqld(8)
           http://dev.mysql.com/doc/refman/en/using-systemd.html
设置mysql开启启动
# systemctl enable mysqld 启动mysql
# systemctl start mysqld 新版MySQL会随机生成一个root密码,查看Mysql密码
# grep 'temporary password' /var/log/mysqld.log
2017-11-10T05:49:48.997304Z 1 [Note] A temporary password is generated for root@localhost: SZ?8JjG8Z-#y SZ?8JjG8Z-#y就是随机密码,现在要做的是使用这个密码修改一下密码
# mysql -uroot -p
mysql> ALTER USER 'root'@'localhost' IDENTIFIED BY 'xxx';
允许远程登录
mysql> update mysql.user set Host='%' where HOST='localhost' and User='root'
mysql> quit
三、然后是安装php7
首先安装php依赖
yum -y install libjpeg libjpeg-devel libpng libpng-devel freetype freetype-devel libxml2 libxml2-devel zlib zlib-devel curl curl-devel openssl openssl-devel 下载php包
http://www.php.net/downloads.php
# wget http://cn2.php.net/distributions/php-7.1.11.tar.gz 解压
# tar zxf php-7.1.11.tar.gz
# cd php-7.1.11
# ./configure --prefix=/usr/local/php7 --enable-fpm --with-fpm-user=nginx --with-fpm-group=nginx --with-mysqli --with-zlib --with-curl --with-gd --with-jpeg-dir --with-png-dir --with-freetype-dir --with-openssl --enable-mbstring --enable-xml --enable-session --enable-ftp --enable-pdo -enable-tokenizer --enable-zip
如果configure成功应该能看到下面的字样
+--------------------------------------------------------------------+
| License:                                                           |
| This software is subject to the PHP License, available in this     |
| distribution in the file LICENSE.  By continuing this installation |
| process, you are bound by the terms of this license agreement.     |
| If you do not agree with the terms of this license, you must abort |
| the installation process at this point.                            |
+--------------------------------------------------------------------+

Thank you for using PHP.
然后执行安装
# make && make install 这个过长很漫长
完成之后配置php.ini
# cp php.ini-development /usr/local/php7/lib/php.ini 需要配置下mysql.sock
mysqli.default_socket = /var/lib/mysql/mysql.sock 时区设置
date.timezone = Asia/Shanghai 然后保存退出,查看下php的版本
# /usr/local/php7/bin/php -v
PHP 7.1.11 (cli) (built: Nov 10 2017 14:41:31) ( NTS )
Copyright (c) 1997-2017 The PHP Group
Zend Engine v3.1.0, Copyright (c) 1998-2017 Zend Technologies
接下来配置 php-fpm
# cp /usr/local/php7/etc/php-fpm.conf.default /usr/local/php7/etc/php-fpm.conf
# cp /usr/local/php7/etc/php-fpm.d/www.conf.default /usr/local/php7/etc/php-fpm.d/www.conf
配置 php-fpm 启动脚本
# cp sapi/fpm/php-fpm.service /usr/lib/systemd/system/ 重新载入 systemd
# systemctl daemon-reload 设置php-fpm开机启动
# systemctl enable php-fpm 启动
# systemctl start php-fpm 查看状态
# systemctl status php-fpm
● php-fpm.service - The PHP FastCGI Process Manager
   Loaded: loaded (/usr/lib/systemd/system/php-fpm.service; enabled; vendor preset: disabled)
   Active: active (running) since Fri 2017-11-10 15:41:23 CST; 3s ago
 Main PID: 13486 (php-fpm)
   CGroup: /system.slice/php-fpm.service
           ├─13486 php-fpm: master process (/usr/local/php7/etc/php-fpm.conf)
           ├─13487 php-fpm: pool www
           └─13488 php-fpm: pool www

Nov 10 15:41:23 iz2zebopxrlqc8he1kgzrjz systemd[1]: Started The PHP FastCGI Process Manager.
Nov 10 15:41:23 iz2zebopxrlqc8he1kgzrjz systemd[1]: Starting The PHP FastCGI Process Manager...
active表示成功启动了。
然后测试一下是否安装成功
# mkdir /home/www/html
# cd /home/www/html
# vi test.php
输入下面的内容
phpinfo(); 然后创建一个nginx站点的配置文件
# cd /etc/nginx/conf.d/ 新建一个人配置文件test.com.conf并写入下面的内容
server {
    listen       80;
    server_name  localhost;
    root         /home/www/html;
    location / {
        index  index.php index.html index.htm;
    }
    location ~ \.php$ {
        fastcgi_pass   127.0.0.1:9000;
        fastcgi_index  index.php;
    fastcgi_param    SCRIPT_FILENAME    $document_root$fastcgi_script_name;
    fastcgi_param  PHP_VALUE        open_basedir=$document_root:/tmp/:/proc/;
        include        fastcgi_params;
    }
}
重启nginx使配置生效
# systemctl reload nginx 然后打开浏览器输入 你的ip/test.php
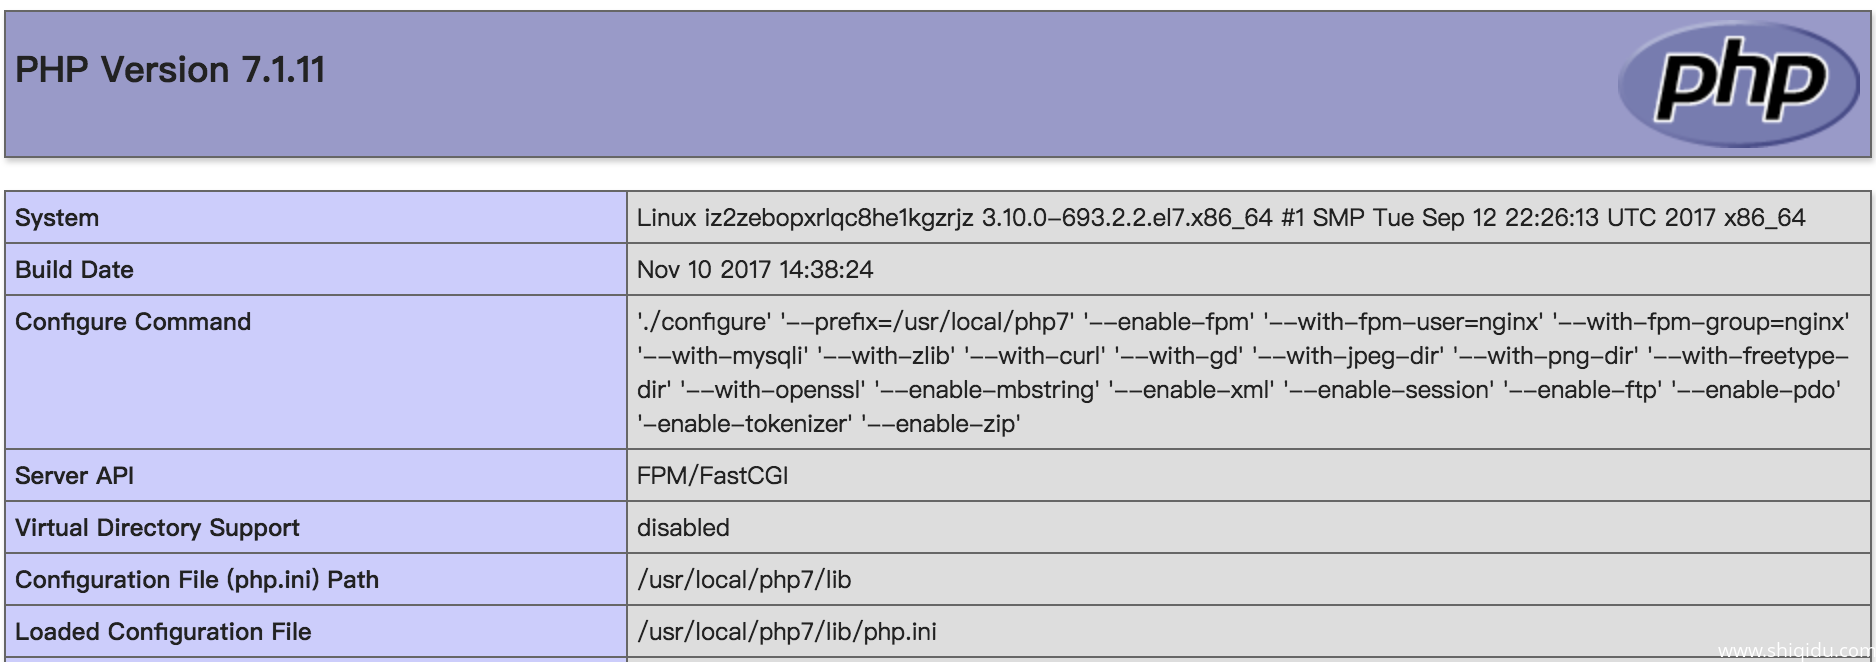
完成啦。